How to Build the Perfect Home Podcast Studio

Building a perfect home podcast studio requires acoustic treatment, quality equipment, and proper room selection. Choose a small, carpeted room with soft furnishings to minimize echo. Use a dynamic microphone like the Shure SM7B, invest in acoustic foam panels. Position your mic 6 inches from your mouth for optimal sound clarity.
Building a perfect home podcast studio starts with the right microphone. Budget options like the Audio-Technica ATR2100 at $67 work great for beginners. A professional setup includes a Shure SM7b, audio interface, closed-back headphones, and acoustic treatment to eliminate background noise and echo.
Building a perfect home podcast studio starts with acoustic treatment and a quality microphone. Budget-conscious creators rely on options like the Audio-Technica ATR2100 at pricing varies while professional setups feature the Shure SM7b. Quality Home Technologies helps Home clients engineer acoustically optimized recording environments that deliver broadcast-grade audio performance consistently.
Key Takeaways
Start with just a microphone; the Audio-Technica ATR2100 costs $67 and works great for beginners.
A pro setup includes a Shure SM7b microphone, Rodecaster Pro mixer, and Sony A6400 camera.
Acoustic treatment reduces echo; foam panels, rugs, and heavy curtains absorb unwanted sound effectively.
A custom recording booth saves money; one podcaster built his modular studio for pricing varies instead of pricing varies.
What prerequisites do you need before starting?
Building a home podcast studio requires a defined set of equipment and acoustic preparations before recording begins. Skipping prerequisites — especially podcast studio acoustic treatment — produces echo-laden audio that drives listeners away within the first minute.
Core equipment checklist:
A condenser or dynamic microphone (budget dynamic options work for beginners)
Microphone stand or boom arm with pop filter and shock mount
Podcast acoustic panels or recording studio foam to control reflections
Audio interface to convert analog signal to digital
Closed-back headphones for accurate monitoring
Computer loaded with DAW (Digital Audio Workstation) software
Do beginners need a full equipment stack to launch?
Beginners need only a microphone to start recording. A budget dynamic microphone at the entry-level price point delivers sufficient quality to publish consistently. Clients can expand the setup piece by piece as commitment grows.
What additional gear does video podcasting require?
Video podcasting introduces additional prerequisites beyond audio. A quality webcam and dedicated key lighting are necessary to produce watchable footage. Addressing podcast room treatment and microphone room acoustics remains equally critical for video formats. Poor sound undermines professional visuals regardless of camera quality. Quality Home Technologies serves Home clients by supplying and installing professional-grade acoustic solutions tailored to each recording space.
How do you treat your room for professional sound?
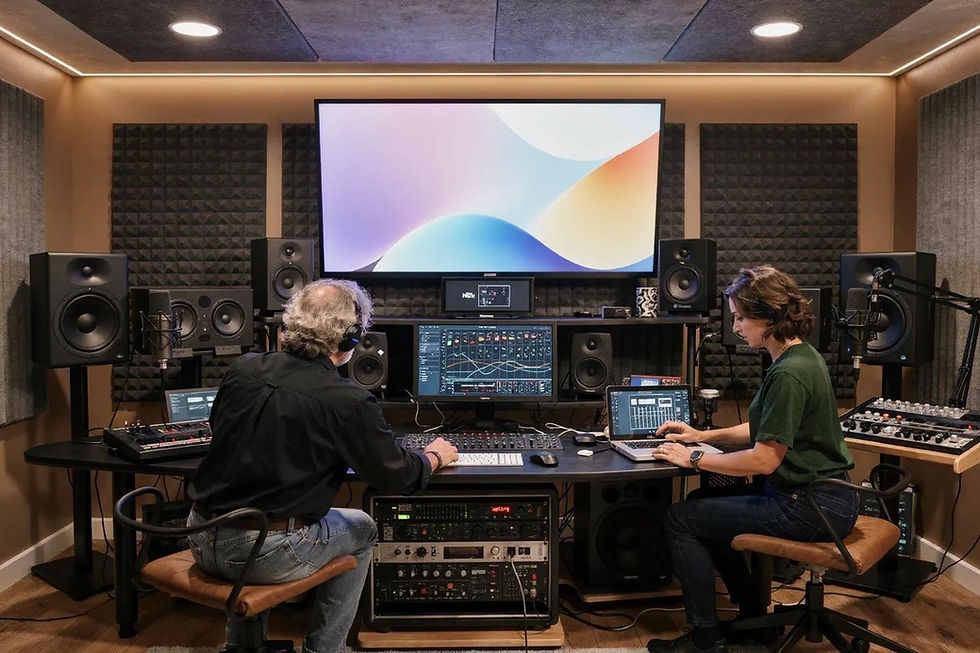
Podcast studio acoustic treatment transforms an ordinary Home recording space by eliminating echo, reducing noise interference, and delivering the clean, controlled sound that professional audio demands. Skipping acoustic treatment costs recordings their clarity — untreated rooms introduce a hollow, roomy quality that no microphone upgrade can fix.
Podcast room treatment is achievable at virtually any budget or room size. A modular, custom recording booth built for roughly a fraction of commercial voiceover booth costs — which can run tens of thousands of dollars — proves that professional results do not require commercial-scale investment.
What acoustic materials make the biggest difference?
Podcast acoustic panels and recording studio foam are the two primary materials Home clients install to control sound reflections. Acoustic panels absorb mid-to-high frequencies across wall surfaces, while recording studio foam targets flutter echo in corners and ceiling boundaries. Together, these materials reduce the reverberant energy that degrades microphone room acoustics and makes voices sound distant or washed out.
How does construction technique improve soundproofing?
Assess the room — identify hard, parallel surfaces that cause flutter echo before purchasing any materials.
Apply acoustic panels — mount panels at primary reflection points: side walls, rear wall, and ceiling above the recording position.
Add corner bass traps — place recording studio foam in corners to absorb low-frequency buildup.
Consider double-wall construction — building a secondary interior wall creates an air gap that significantly reduces sound transmission into the Home recording space.
Quality Home Technologies serves Home clients through every stage of this process, from acoustic assessment to professional installation.
How do you finalize and optimize your studio setup?
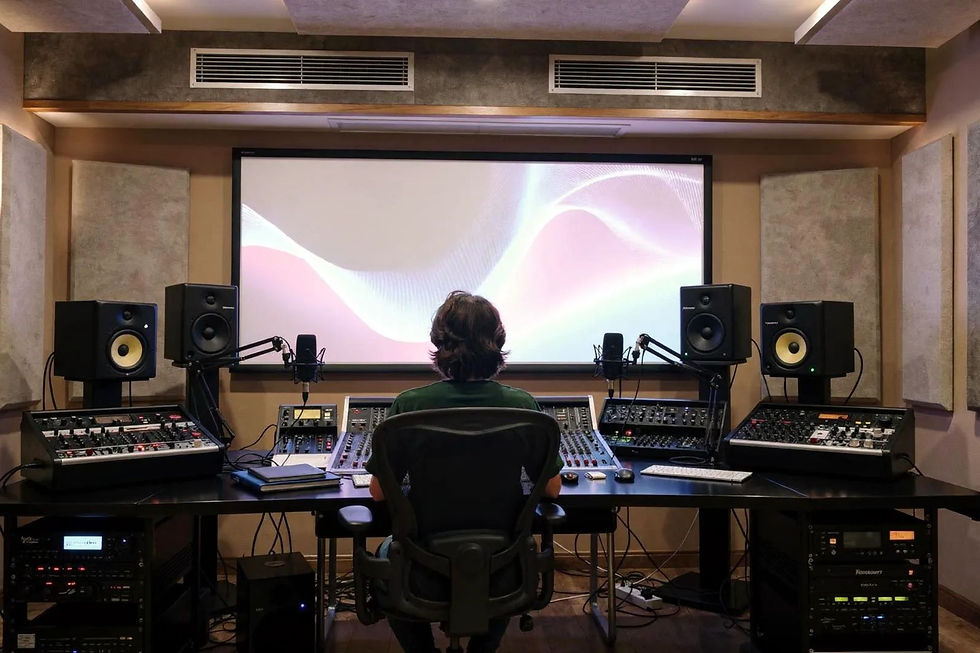
Finalizing a podcast studio in Home requires locking in a dedicated, consistent recording space before investing in advanced gear. Skipping this foundation costs clients recordings lost to environmental noise and inconsistent audio quality across episodes.
What acoustic treatments should clients install first?
Podcast studio acoustic treatment begins with surfaces that reflect sound. Clients should install podcast acoustic panels on the primary reflection points — the wall directly behind the microphone and the two side walls. Podcast room treatment using recording studio foam reduces flutter echo and controls microphone room acoustics, producing cleaner, more professional-sounding audio without expensive post-production fixes. Quality Home Technologies ships and installs tailored acoustic solutions directly to Home addresses.
How should clients sequence their studio upgrades?
Establish the dedicated space first. Commit to one consistent room or area before purchasing additional equipment.
Add ventilation or air conditioning. Comfort during long recording sessions directly affects performance and consistency.
Start with accessible recording software. Zoom serves as a reliable entry point; more advanced tools support live streaming as the setup matures.
Upgrade components incrementally. Prioritize publishing consistently, then improve studio elements piece by piece as commitment to the show grows.
Building the perfect home podcast studio is ultimately an exercise in intentional design. Where acoustic treatment, equipment selection, and spatial planning converge to produce a professional-grade listening experience. Every decision, from wall absorption to microphone placement, compounds into an environment that elevates your voice and commands your audience's attention. When technology and space are engineered in harmony, the result transcends a simple recording setup. Becomes a dedicated creative sanctuary worthy of the content you produce.
FAQ
What microphone do beginners need to start a home podcast studio?
The Audio-Technica ATR2100 at $67 delivers sufficient quality for beginners to publish consistently. Creators expand their setup piece by piece as commitment grows.
What equipment does a professional podcast studio include?
A pro setup features the Shure SM7b microphone, Rodecaster Pro mixer, Sony A6400 camera, audio interface. Closed-back headphones for accurate monitoring.
How do you treat a room for professional podcast sound?
Podcast acoustic panels, recording studio foam, rugs. Heavy curtains absorb unwanted sound and eliminate the hollow, roomy quality that no microphone upgrade fixes.


Comments